How to configure page settings in website builder?
To configure the settings for each page you create, follow these steps:
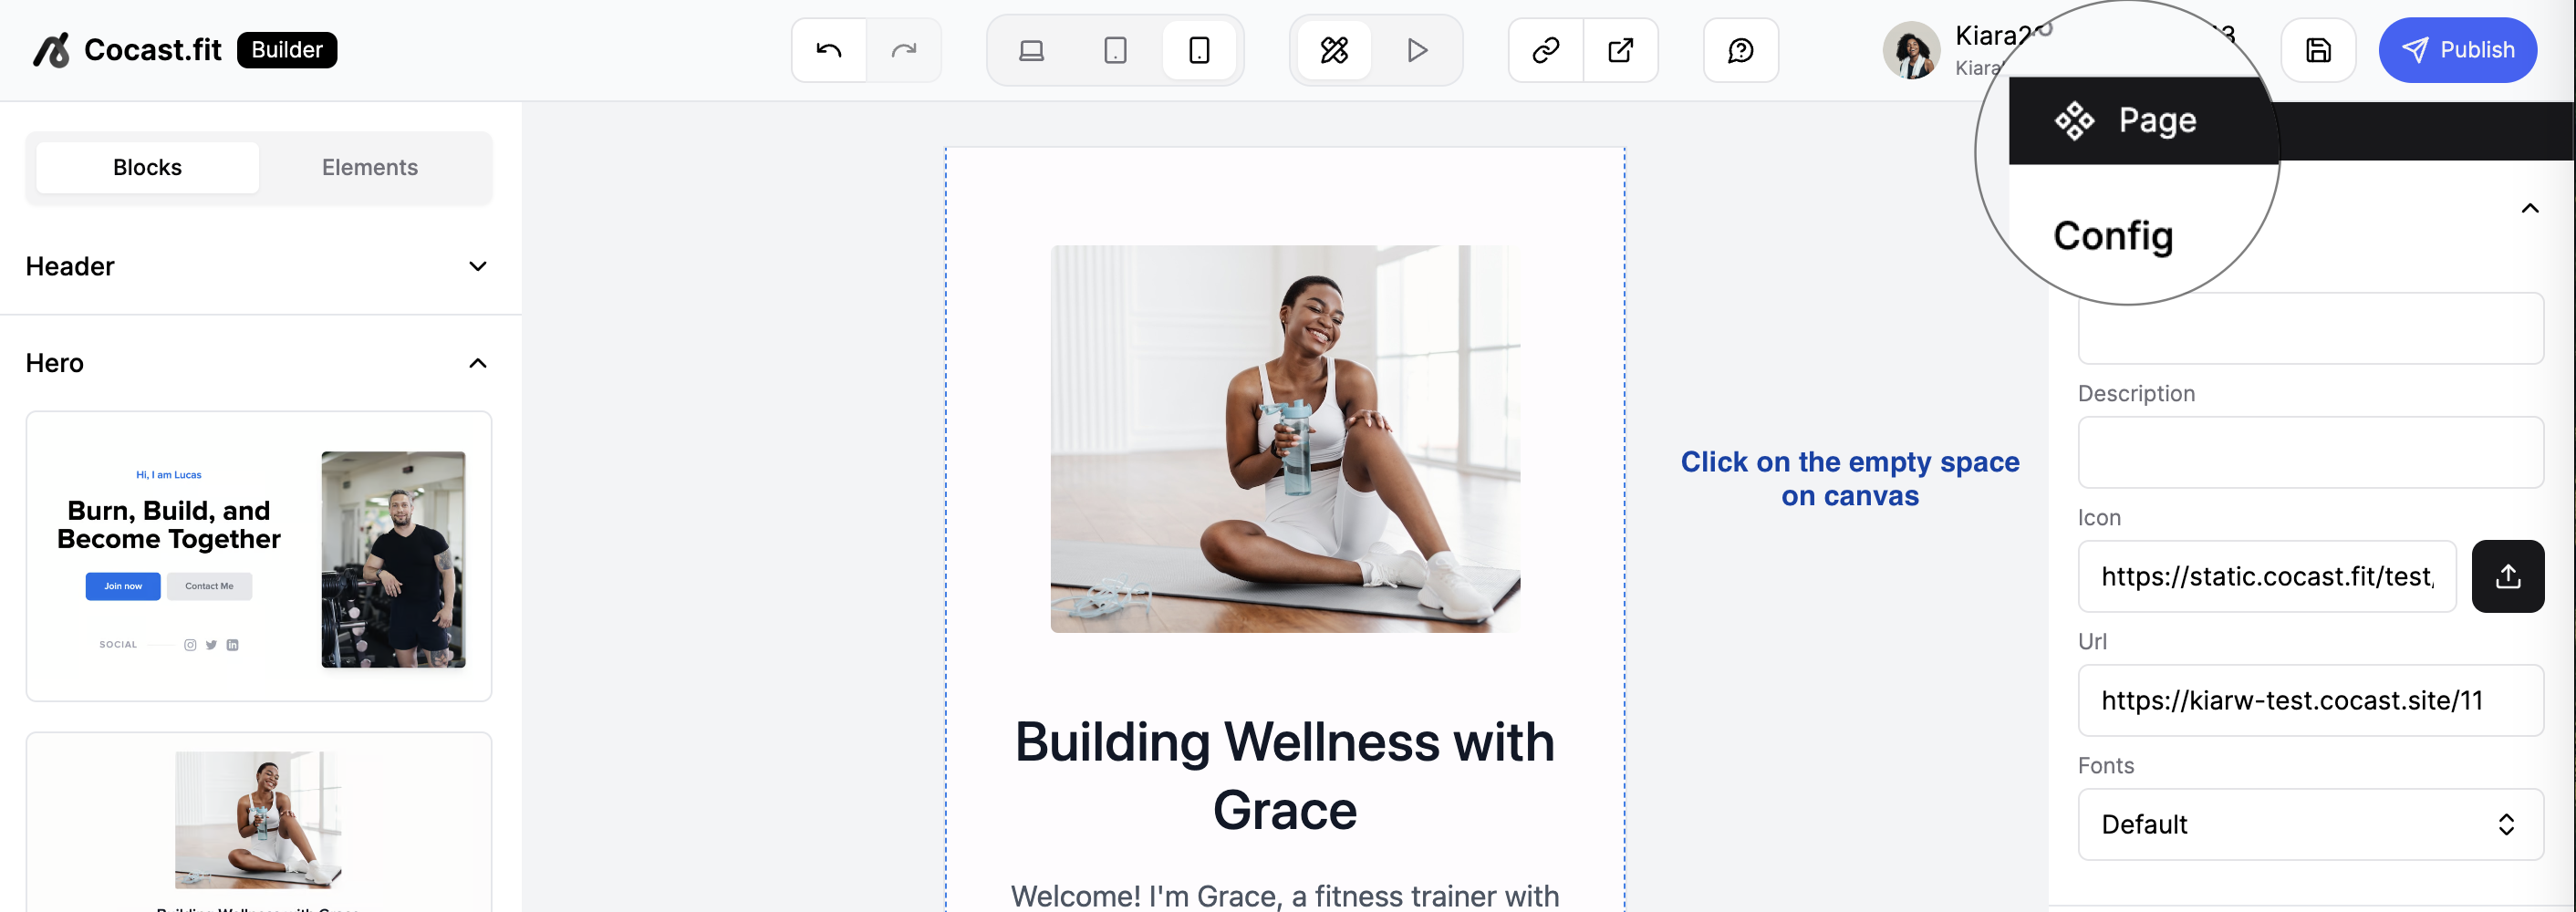
- Click on an empty area in the building area, not on the page canvas, to ensure the right-side menu displays the page settings.
- The right-side menu will show the page settings, including configuration, color, dimension, and padding sections. For instructions on editing color, dimension, and padding, refer to other articles in the help center. Here, we'll focus on the config section.
Title:
This is the title of the page, typically the name of the website page. It will appear in the page management.
Description:
A description of the page. You can write something to describe what the page is about.
Icon:
You can upload an icon, which is the website icon. This icon will appear in the tab when people open your website.
💡 By default, the website icon is the business logo you've set up in the business settings of our system. If you haven't set up a business logo, the favicon will be the first letter of your business name against a light grey background.
URL:
This setting enables you to establish the page URL. The unchangeable part is your claimed domain. You can append additional subpaths to it. For instance, if your claimed domain is "example.cocast.site," you can set the page path to "example.cocast.site/home." The part preceding the domain cannot be edited. If you wish to change your domain, you must go to the branding settings. You can also leave the path blank and only use "example.cocast.site" without adding any subpaths.
💡 You must first claim an exclusive domain for your business before setting up your page URL when creating a page. If you haven't claimed a domain, the option to create a page will be hidden. Instead, a guide will appear in the website feature to help you claim a domain.

Last updated on