How to create a check-in?
Simplify progress tracking and elevate your coaching experience using Cocast.fit's Check-In Forms. Effortlessly interact with clients, receive real-time updates, and gain valuable insights to optimize their fitness journeys.
Creating a new check-in is a breeze with Cocast.fit. Follow these steps:
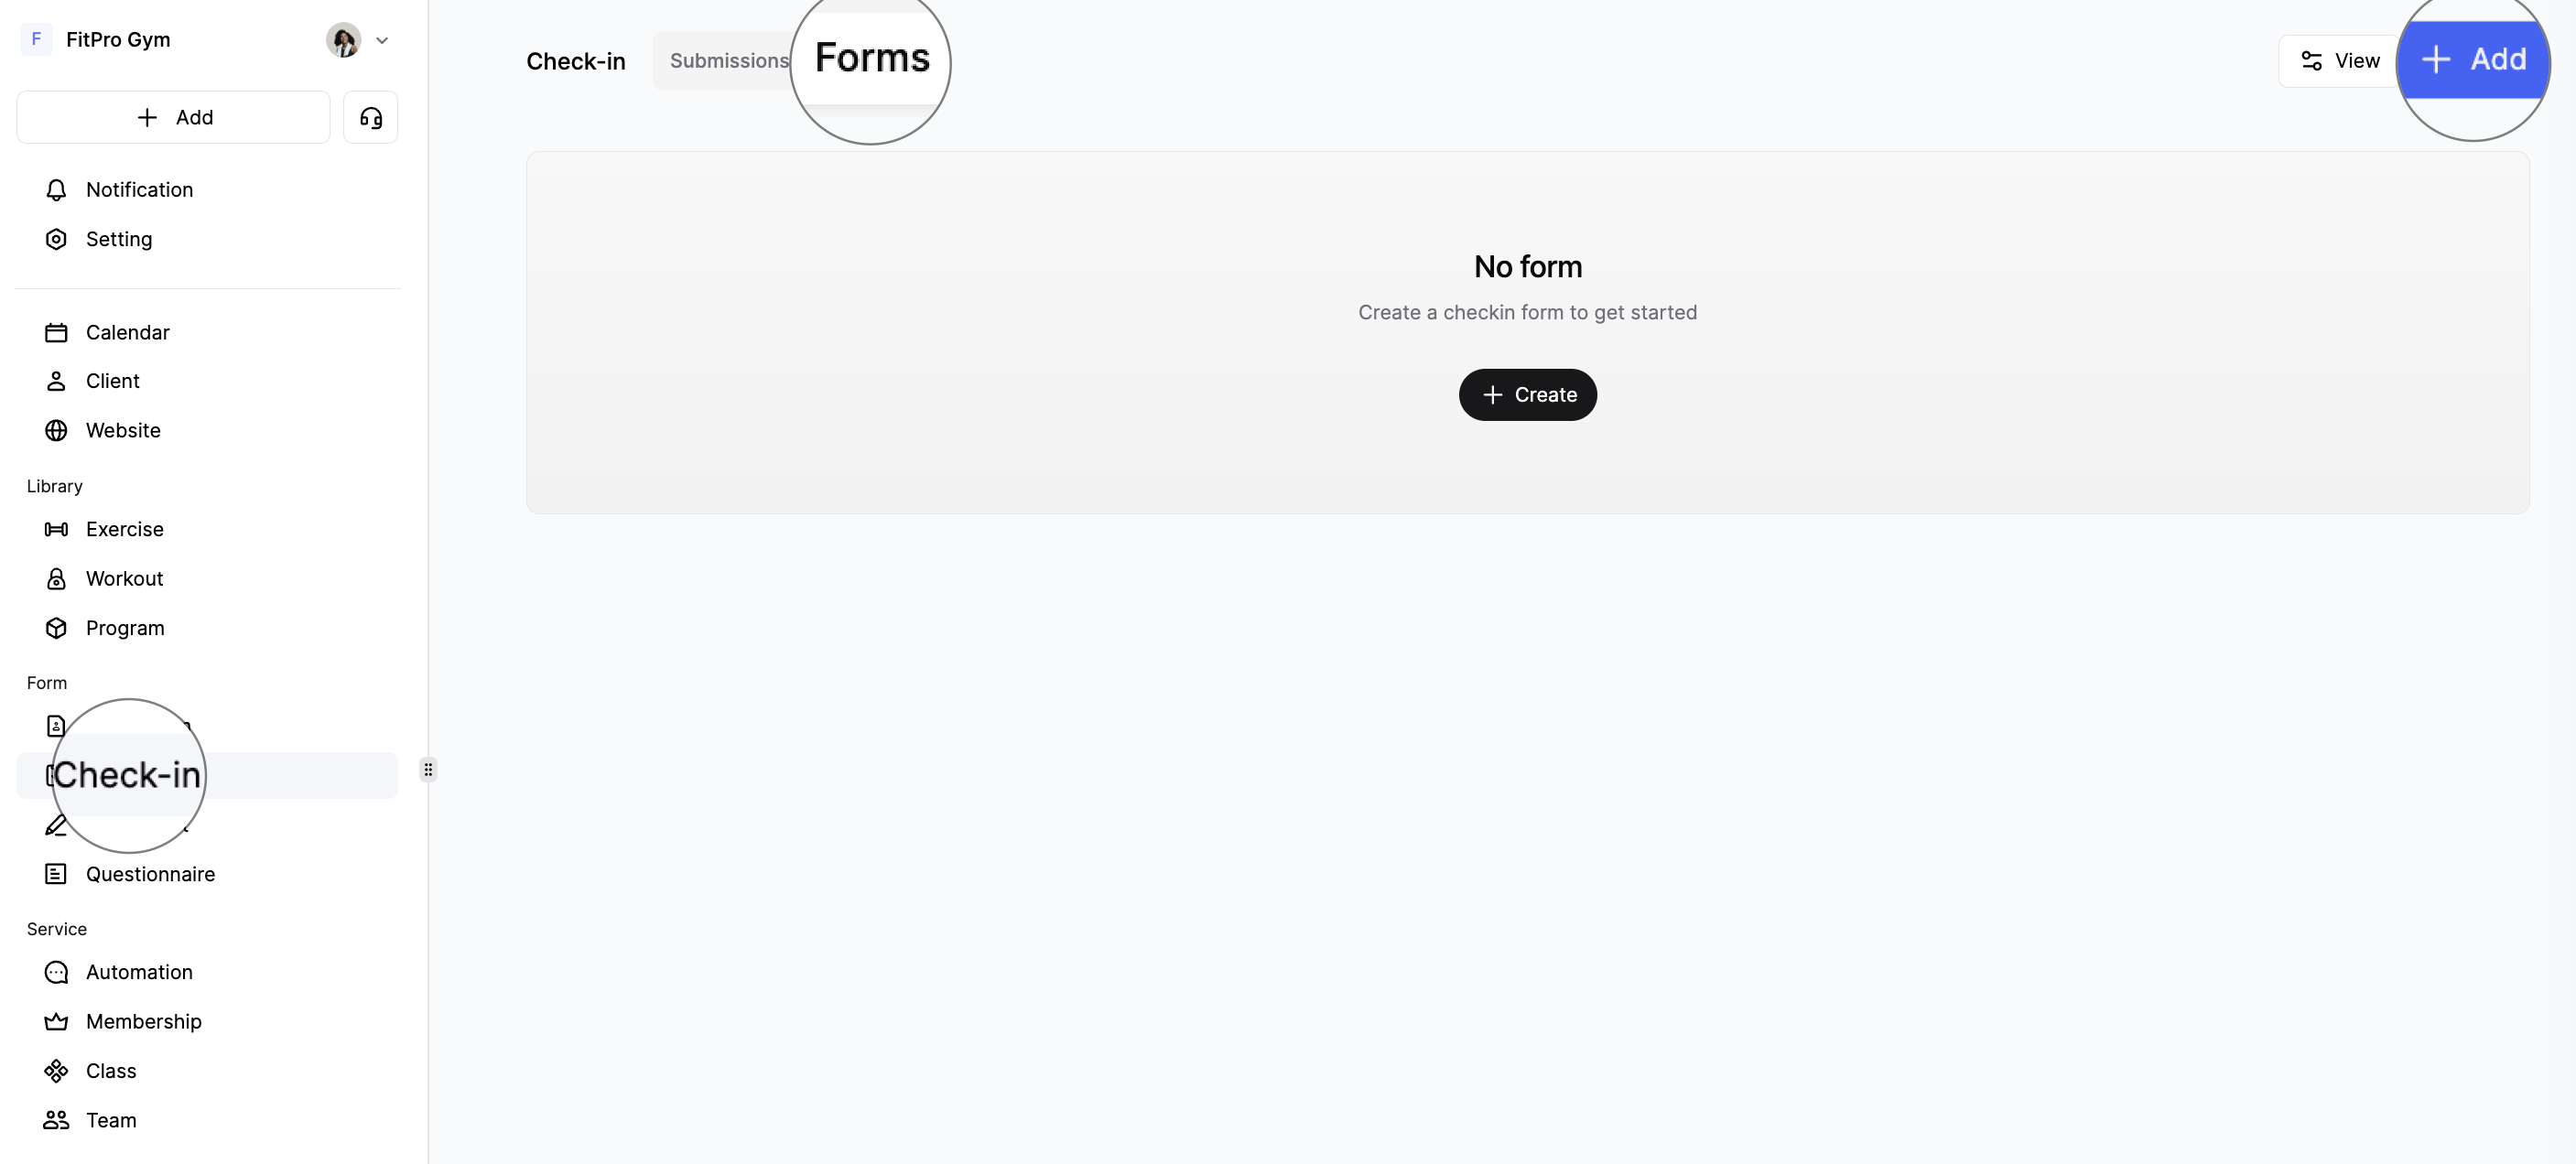
Access the Check-In Builder:
Head to the "Check-in" feature under form group in the left menu. By default, you'll be in the submission tab. To create a new form, switch to the "Forms" tab and find the "Add" button in the top right corner.
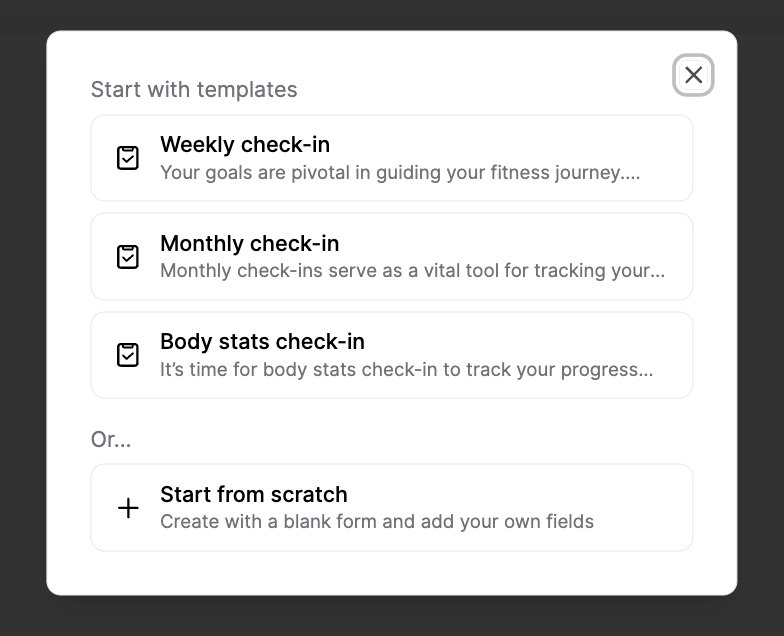
Choose Your Starting Point:
Clicking "add" will prompt a window where you can choose to start from scratch or use templates. We offer three templates: weekly check-in, monthly check-in, and body stats check-in, all crafted by fitness professionals.
Enter the Check-In Builder:
After making your choice, enter the check-in builder. On the left is the question selector; click on a question to add it to the builder, where you can edit its content.
Question category:
Questions are categorized into four types: biometric, circumference, journal, and additional fields. In the form builder, biometric, circumference, and journal fields are part of the basic info section, while additional fields are included in the additional info section. These categories correspond to the respective data types in the client dashboard, under the "Biometric," "Circumference," and "Journal" tabs.
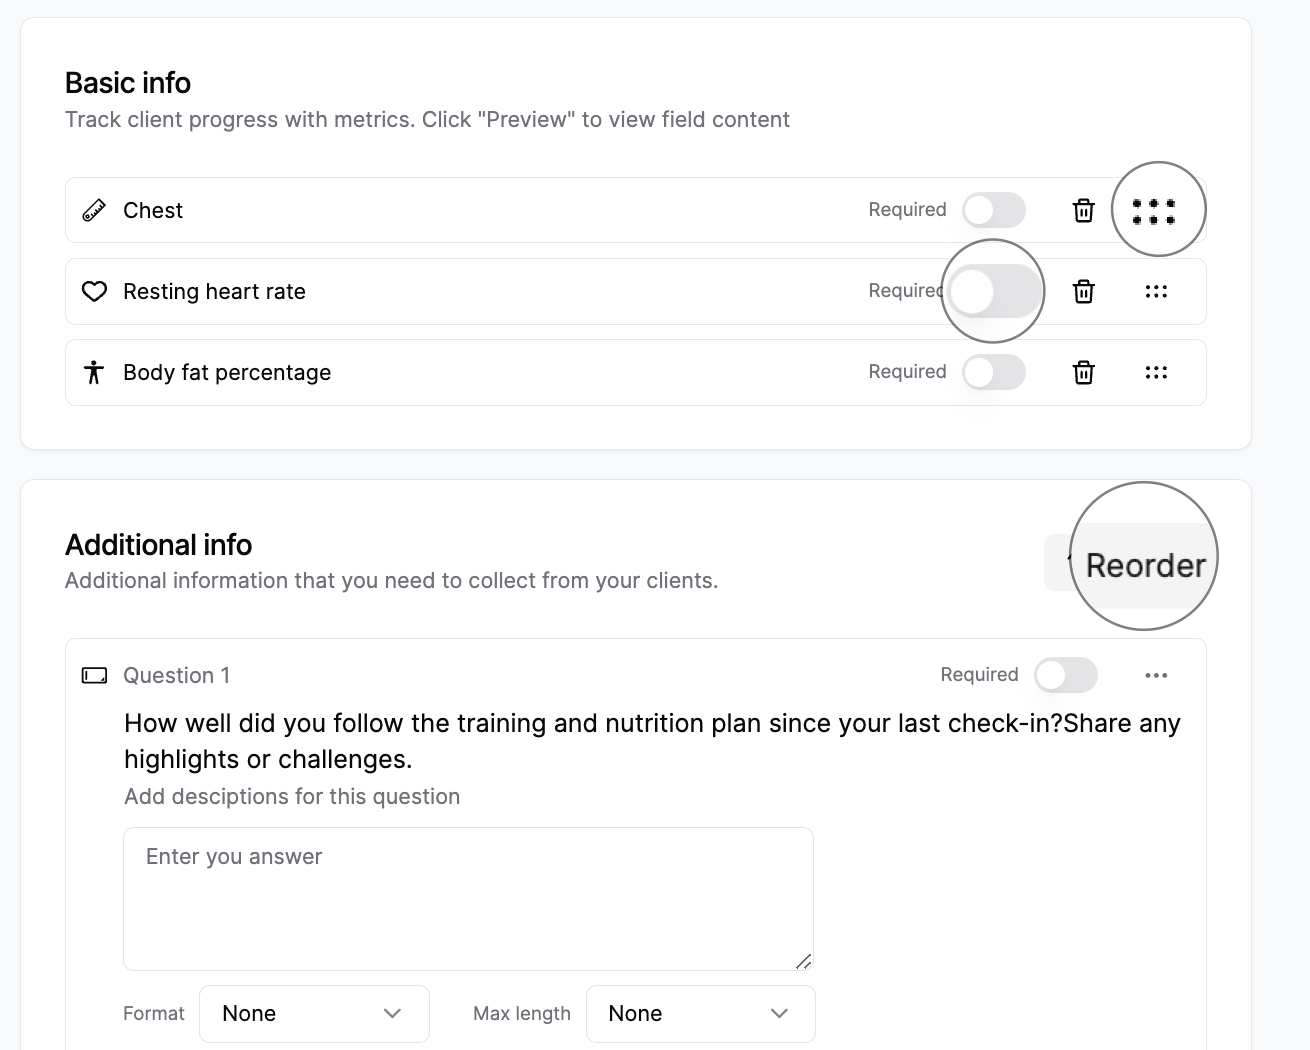
Customize Questions:
You can customize questions by marking them as required or not, and delete them if necessary. For client info, you have the flexibility to sort the order of questions. Once finalized, questions will be automatically categorized in the form if they pertain to biometric, circumference, or journal data, following the order you've set up within each category. Additional info questions can be rearranged by clicking "Reorder" at the top right.
Preview Your Form:
To see how your form looks, click the "preview" button at the top.
💡 Keep in mind that business name and logo won't appear in the preview but will be visible to clients.
Exit the Builder:
Click "back" at the top left of you form builder page to exit the builder.
Create Your Form:
After editing, click "create" located at the top right corner of the page. The form will be automatically generated.
Review and Edit:
Check or edit your newly created form in the list or card view under the "Forms" tab in the check-in feature.
Last updated on