
How to create a schedule?
To create a new schedule for a client, you have two options:
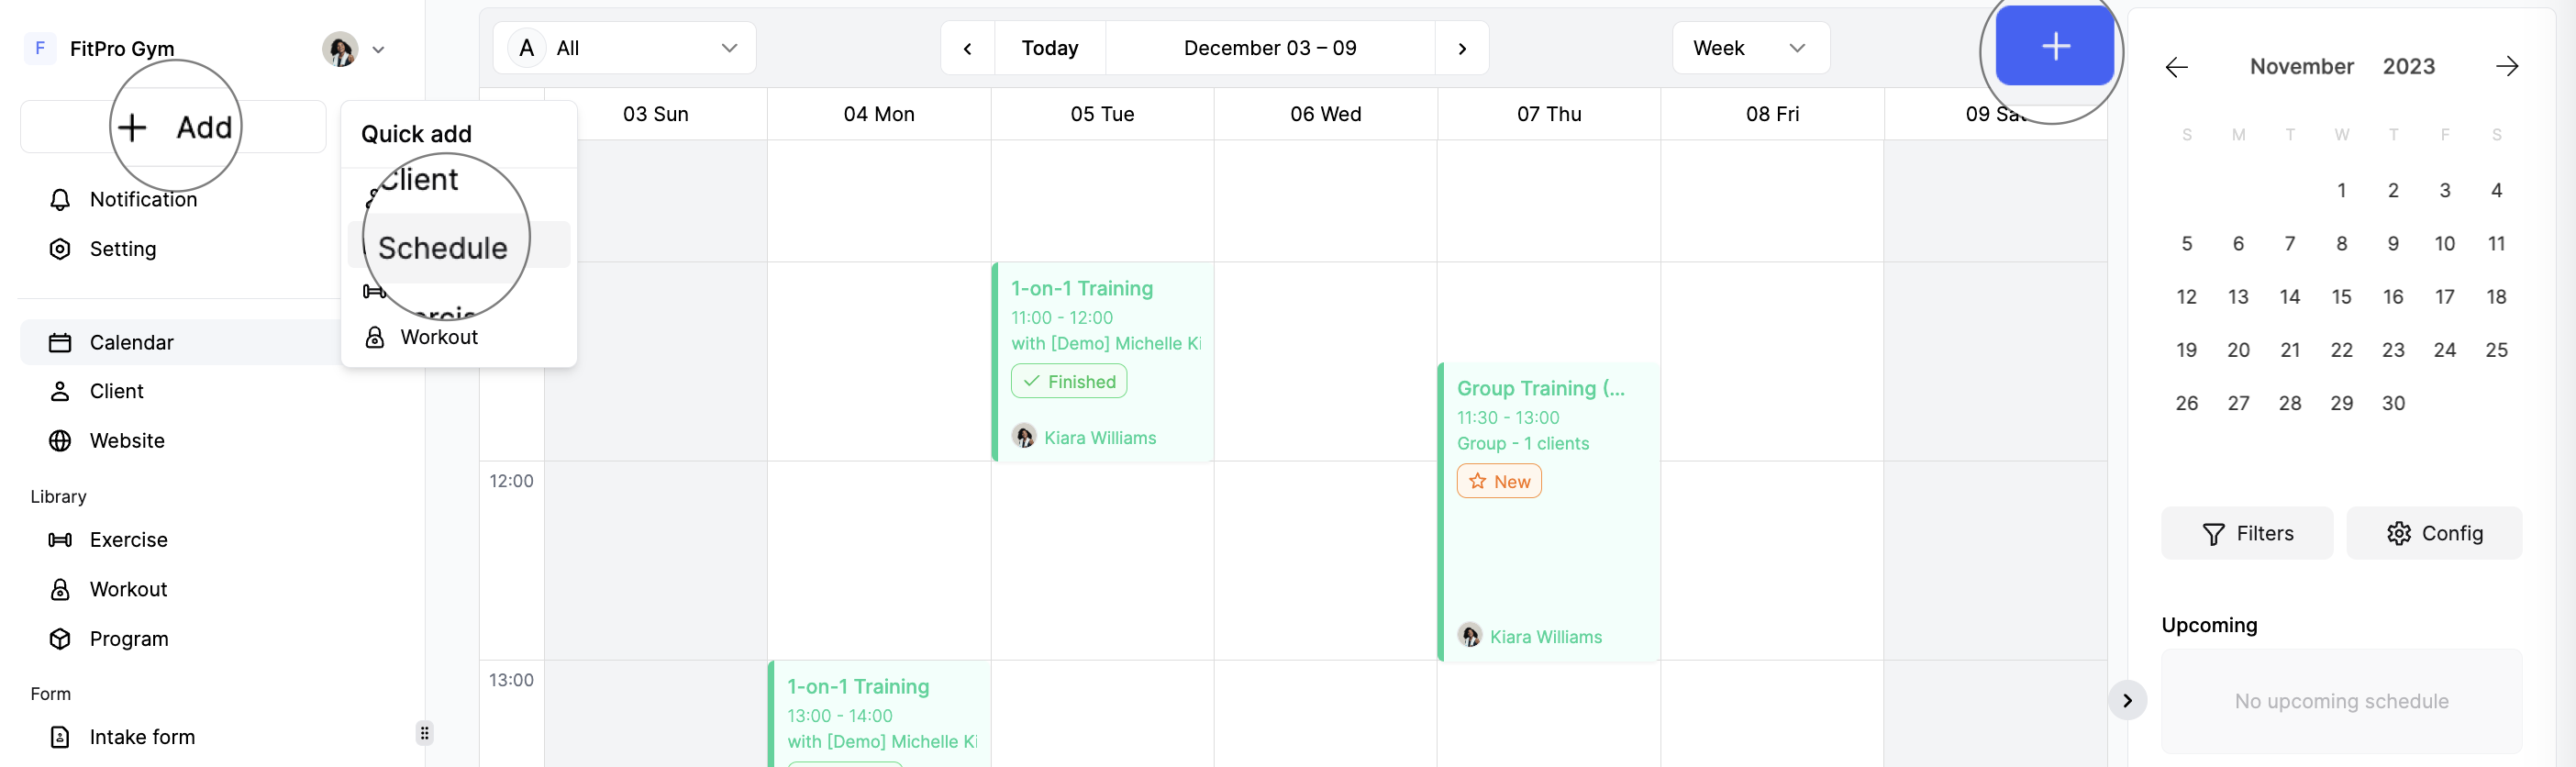
- Click the "Add" button in the top of the system menu, then select the "Schedule" option.
- Navigate to the "Calendar" feature on the left menu, and look for the "Add" button in the top right corner of the calendar.
1. Completing Basic Information
The essential details needed for the schedule include the trainer, client, category, schedule name, and time information.
a) Schedule Types
There are two types of schedules: personal and group. You can choose the desired type by clicking on the tab corresponding to the type you want to create. For a personal schedule, only one client can be included, and it's limited to personal classes. On the other hand, a group schedule requires at least two clients and is associated with group classes.

b) Trainer
Select the trainer who will be conducting the schedule.
c) Client
Choose the client(s) participating in the schedule. For personal schedules, only one client can be selected.
d) Color code
Select the color code for the schedule, which functions similarly to tags in other features.
e) Name
Enter the schedule name.
f) Time info
Provide the date, start time, and duration. If you click a specific area on the calendar, the start time of your click will be automatically filled in for you.
💡 You can click your mouse and select an area on the calendar. The time info for the selected area will be automatically populated in the schedule.
2. Adding Further Details
a) Class
You have the option to assign a specific class to the schedule. If you're creating a 1-on-1 schedule, you can only select personal classes. If it's a group schedule, you can only choose from group classes.
❗ Once a class is assigned, the schedule's duration will be fixed to match the class duration, and the schedule name will be automatically set to the class name, both of which can't be changed.
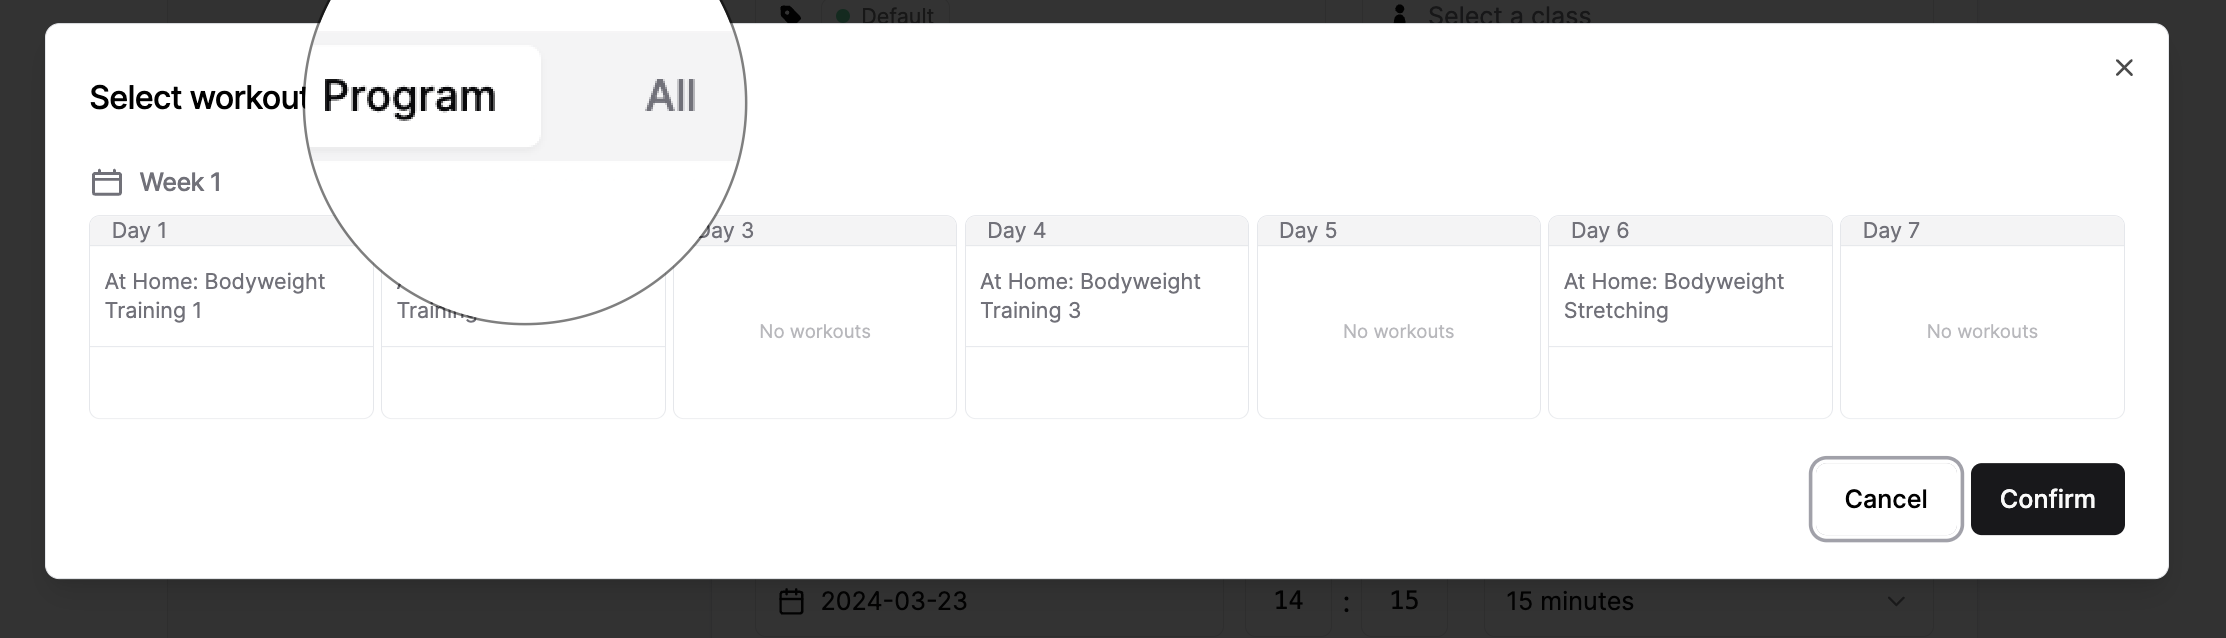
b) Include Workouts
If you've already assigned a program to the client, the assigned program's workouts will be displayed for you to choose from. However, if you prefer not to use the programmed workout, you can click the "All" tab, allowing you to select the workouts you desire. If the client you're creating the schedule for hasn't been assigned any program, all the workouts will be displayed for you to select, and there will be no tabs.Keep in mind that a maximum of three workouts can be included in one schedule.
💡 Programmed workouts will only appear for selection when you choose a client who has an ongoing program scheduled for the date you're creating the schedule.
c) Schedule Notes
Feel free to use this space to write any reminders or important information you'd like your clients to be aware of, such as items to bring or precautions.
3. Finalizing the Schedule
Once you've completed all the necessary schedule details, click the "Create" button located at the top right of the page. This action will add the schedule to your calendar.
Last updated on